Physical Network And Systems
In this post, we will install and configure the Physical Network and Systems. We will also prepare the host system for the virtual machines.
Dsin-Gateway
The name does not matter. It’s just a SOHO (Small Office/Home Office) router.
Dsin-Lap001 #Jump-Server
The name does not matter. It’s a jump-server and the only system that is allowed to connect to the cybersecurity lab. It doesn’t store any valuable/sensitive data.
Dsin-Dangerzone #Virtual-Server
The name does not matter but we recommend naming it in a way that will remind you about the dangers/risks involved in the cybersecurity lab. You can place multiple reminders in your environment to influence your subconscious mind.
Hardware Configuration

As bad as it sounds the size does matter here. So we recommend following or higher system configuration.
- CPU: 8 Core
- RAM: 16 GB
- Disk: 1 TB (500 GB is also fine)
Please note that it’s just a starter configuration. Each VM can/will eat 2 CPUs and 4 GB RAM. You won’t be able to run multiple VMs at the same time if you don’t provision the hardware right the first time. In our cybersecurity lab, we are spending money just on the hardware so spend it wisely.
Software Configuration
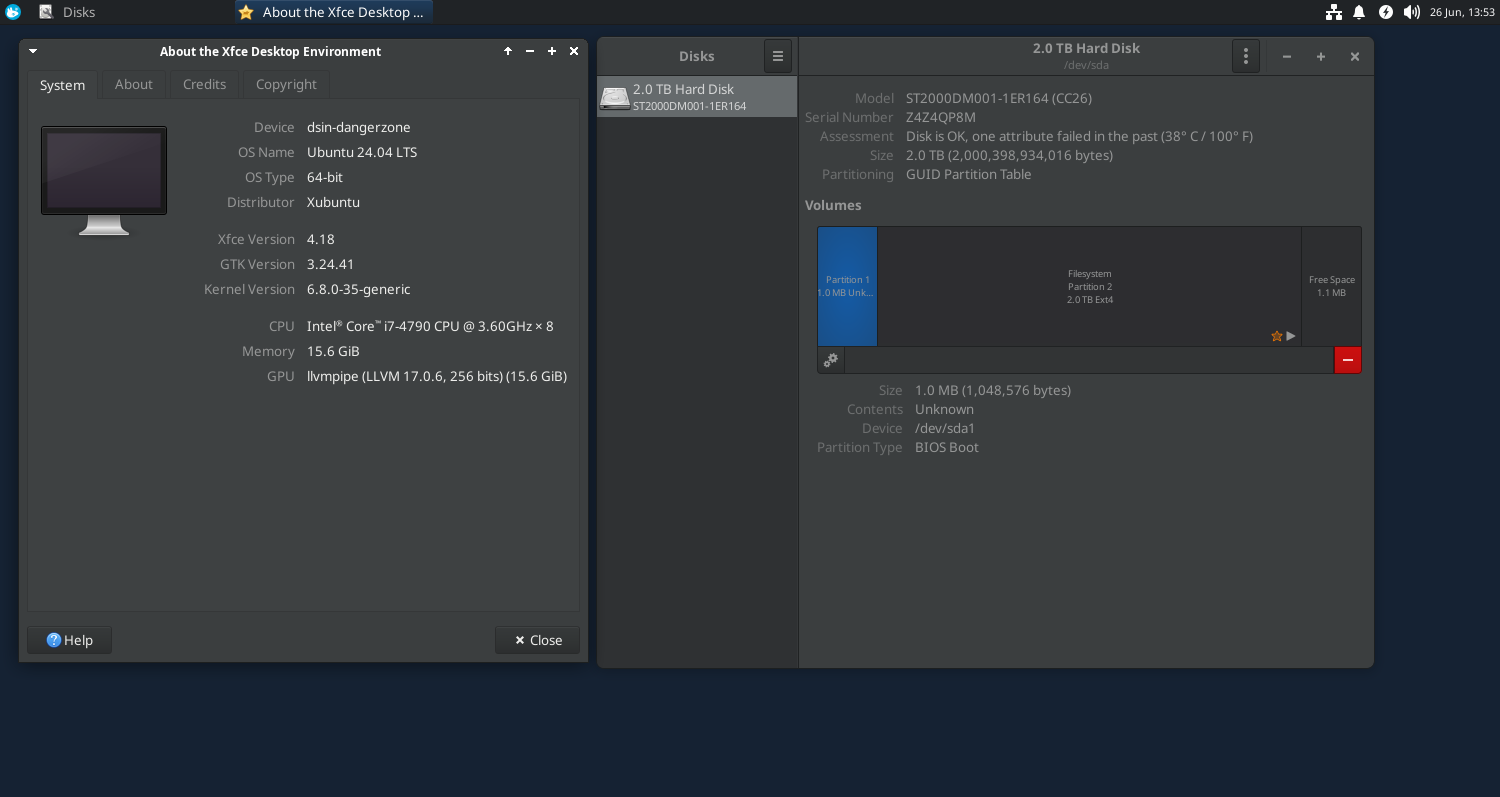
Ubuntu 24.04 LTS
Ubuntu is the obvious choice for the operating system in the FOSS category. We will use the latest LTS version Ubuntu 24.04 “Noble Numbat”. Its standard support is valid till May 31st, 2029 which is good enough for our requirement.
XFCE desktop/Xubuntu
XFCE desktop or Xubuntu is required because it is fast and lightweight. The virtual server will host many VMs so we want to keep other processes as light as possible. Ideally, we should have ubuntu-server (CLI) as our host operating system but it will make the VM provisioning difficult and will increase the learning curve/period which may/may not be in your best interest.
SSH
SSH is required for the secure shell connection from the jump-server.
XRDP
XRDP is required for the RDP connection from the jump-server. You can ditch it if you decide to log into the physical server directly. But, we recommend it so that you make yourself comfortable with the practice of jump-server.
UFW
An Uncomplicated Firewall (UFW) is required for the system hardening. We will explicitly deny all traffic except from the jump-server for SSH and XRDP initially. We can add more rules as needed.
VirtualBox
VirtualBox is the hypervisor to provision the VMs. Can you use another hypervisor? Sure, use whatever you are comfortable with.
Let’s Get Started
- Note the default gateway of your SOHO router. It should be similar to ‘192.168.1.1’ or ‘192.168.0.1’.
devendrashirbad@dsin-lap001:~$ ip route
default via 192.168.1.1 dev enp2s0 proto static metric 100
- If you decide to keep the jump-server in the setup, configure a dedicated system and assign a fixed IP address. The jump-server we are using is configured with Ubuntu 22.04.4 LTS and IP address ‘192.168.1.10/24’
devendrashirbad@dsin-lap001:~$ ip a
1: lo:  mtu 65536 qdisc noqueue state UNKNOWN group default qlen 1000
    link/loopback 00:00:00:00:00:00 brd 00:00:00:00:00:00
    inet 127.0.0.1/8 scope host lo
       valid_lft forever preferred_lft forever
    inet6 ::1/128 scope host
       valid_lft forever preferred_lft forever
2: enp2s0:  mtu 1500 qdisc fq_codel state UP group default qlen 1000
    link/ether 08:9e:01:36:a6:77 brd ff:ff:ff:ff:ff:ff
    inet 192.168.1.10/24 brd 192.168.1.255 scope global noprefixroute enp2s0
       valid_lft forever preferred_lft forever
    inet6 fe80::3c2d:9f01:4c7d:e908/64 scope link noprefixroute
       valid_lft forever preferred_lft forever
3: wlp3s0b1:  mtu 1500 qdisc noqueue state UP group default qlen 1000
    link/ether 08:ed:b9:96:ec:dd brd ff:ff:ff:ff:ff:ff
    inet 192.168.1.2/24 brd 192.168.1.255 scope global dynamic noprefixroute wlp3s0b1
       valid_lft 73283sec preferred_lft 73283sec
    inet6 fe80::d223:8a2a:596:b6a1/64 scope link noprefixroute
       valid_lft forever preferred_lft forever
- Install Xubuntu 24.04 LTS on the physical server and assign IP address ‘192.168.1.200/24’.
devendrashirbad@dsin-dangerzone:~$ ip a
1: lo:  mtu 65536 qdisc noqueue state UNKNOWN group default qlen 1000
    link/loopback 00:00:00:00:00:00 brd 00:00:00:00:00:00
    inet 127.0.0.1/8 scope host lo
       valid_lft forever preferred_lft forever
    inet6 ::1/128 scope host noprefixroute
       valid_lft forever preferred_lft forever
2: enp3s0:  mtu 1500 qdisc pfifo_fast state UP group default qlen 1000
    link/ether f8:32:e4:9e:b9:a8 brd ff:ff:ff:ff:ff:ff
    inet 192.168.1.200/24 brd 192.168.1.255 scope global noprefixroute enp3s0
       valid_lft forever preferred_lft forever
    inet6 fe80::fa32:e4ff:fe9e:b9a8/64 scope link
       valid_lft forever preferred_lft forever
- Install SSH on the physical server.
devendrashirbad@dsin-dangerzone:~$ sudo apt install ssh
- Install XRDP on the physical server.
devendrashirbad@dsin-dangerzone:~$ sudo apt install xrdp xubuntu-desktop-minimal
- Connect from an RDP client to the server using IP address/FQDN. We are using Remmina on the jump-server. If you face any technical issues, install xubuntu-desktop-minimal on the physical server and reboot the system, it should fix the RDP issues.
- Install and configure the firewall to accept incoming traffic from the jump-server(192.168.1.10) on port 3389 for XRDP and 22 for SSH.
devendrashirbad@dsin-dangerzone:~$ sudo ufw allow from 192.168.1.10 to any port 22
Rule added
devendrashirbad@dsin-dangerzone:~$ sudo ufw allow from 192.168.1.10 to any port 3389
Rule added
devendrashirbad@dsin-dangerzone:~$ sudo ufw status numbered
Status: active

     To                         Action      From
     --                         ------      ----
[ 1] 22                         ALLOW IN    192.168.1.10
[ 2] 3389                       ALLOW IN    192.168.1.10

devendrashirbad@dsin-dangerzone:~$ sudo ufw enable
Command may disrupt existing ssh connections. Proceed with operation (y|n)? y
Firewall is active and enabled on system startup
- Install VirtualBox on the physical server.
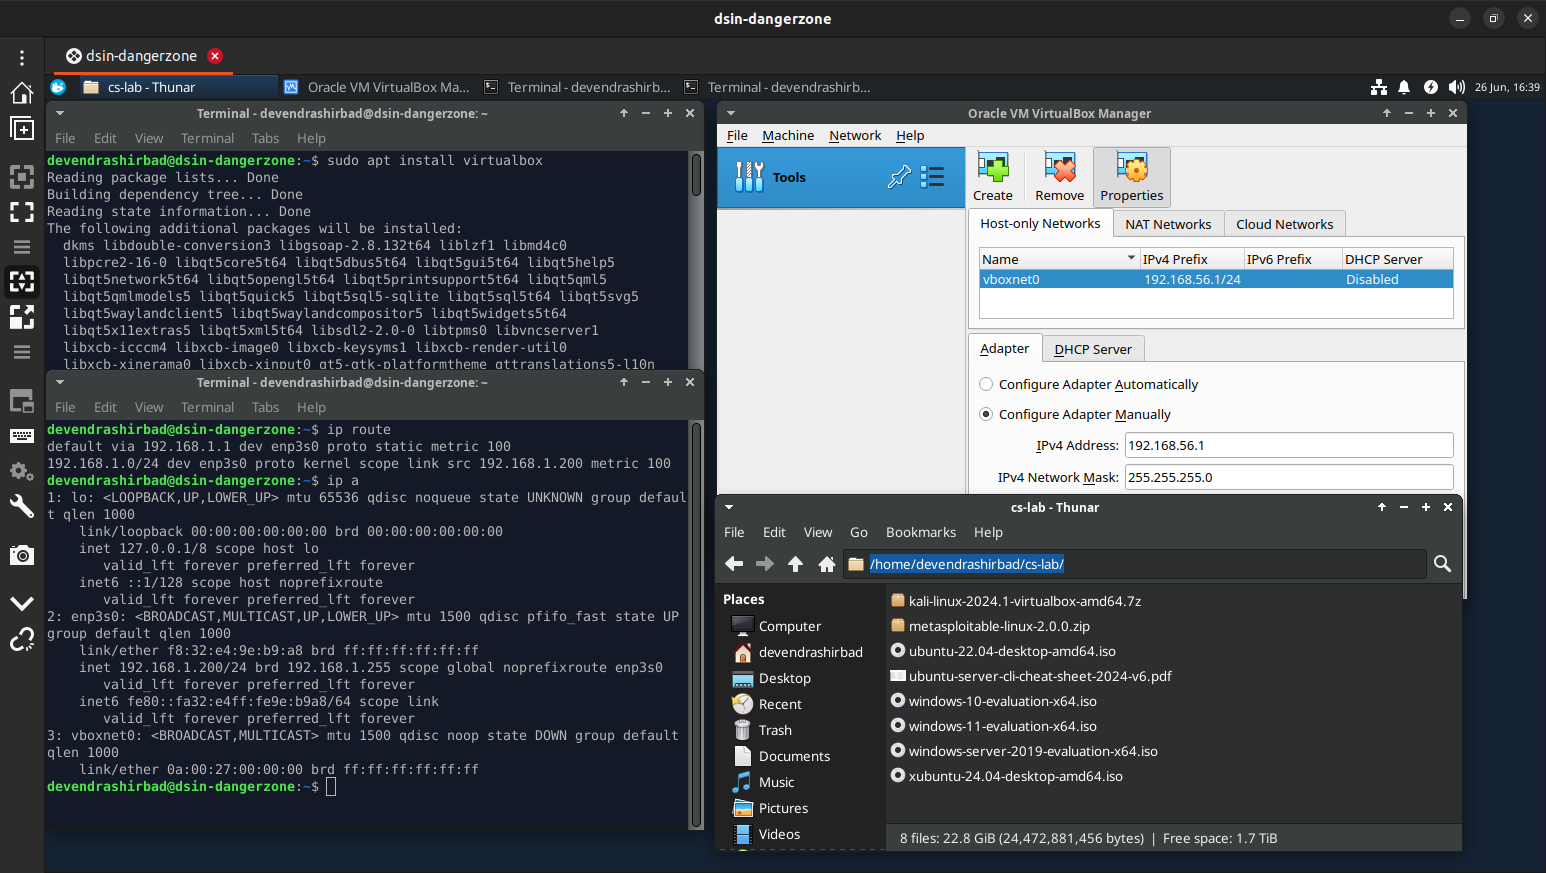
devendrashirbad@dsin-dangerzone:~$ sudo apt install virtualbox virtualbox-guest-additions-iso
- Create a host-only network (File > Tools > Network Manager) in VirtualBox.
- Optionally, change the Default Machine Folder to ‘virtualbox-vms’
- Create a directory ‘cs-lab’ for the installation media and other shared resources.
devendrashirbad@dsin-lap001:~/os$ sudo scp * devendrashirbad@dsin-dangerzone:cs-lab/
devendrashirbad@dsin-dangerzone's password:
kali-linux-2024.1-virtualbox-amd64.7z                     100% 3003MB  11.2MB/s   04:28
metasploitable-linux-2.0.0.zip                            100%  825MB  11.2MB/s   01:13
ubuntu-22.04-desktop-amd64.iso                            100% 3486MB  11.2MB/s   05:11
ubuntu-server-cli-cheat-sheet-2024-v6.pdf                 100%  185KB   4.8MB/s   00:00
windows-10-evaluation-x64.iso                             100% 5293MB  11.2MB/s   07:53
windows-11-evaluation-x64.iso                             100% 5921MB  11.2MB/s   08:48
windows-server-2019-evaluation-x64.iso                    100% 4810MB  11.2MB/s   07:09
xubuntu-24.04-desktop-amd64.iso                           100% 3881MB  11.2MB/s   05:46
Final Outcome
